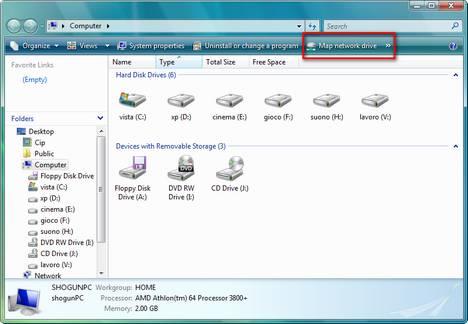
First, click on the Computer shortcut from your desktop or from the Start Menu. In the toolbar you will find several buttons, including one called Map network drive.
Click on it and the Map Network Drive window will open. Firstly, you need to assign a drive letter for the connection and then type the drive or the folder you want to connect to.
The folder can be located on a remote server or computer you have access to, a FTP site or a shared folder on your own computer.
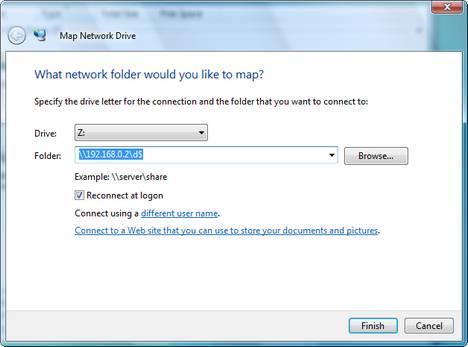
If you want to connect to a remote computer just type "\\" followed by the computer name or the IP 
If you want to create a drive mapping to a folder on your own computer type "\\127.0.0.1\" (this stands for the local host) or "\\computer_name\" and then the path towards that folder.
Sometimes, when you create a drive mapping, you might need to use a special user name and password that allows you to connect to it. In this case, click on the Connect using a different user name link.
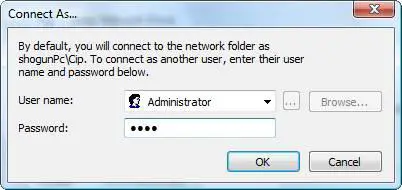
Type the appropriate user name and password and click on OK. Now you will return to the previous window. Click on Finish and the drive mapping will be created.
If you access the Computer shortcut again you will see that a new drive having the letter you assigned is listed and you can access it at anytime.